

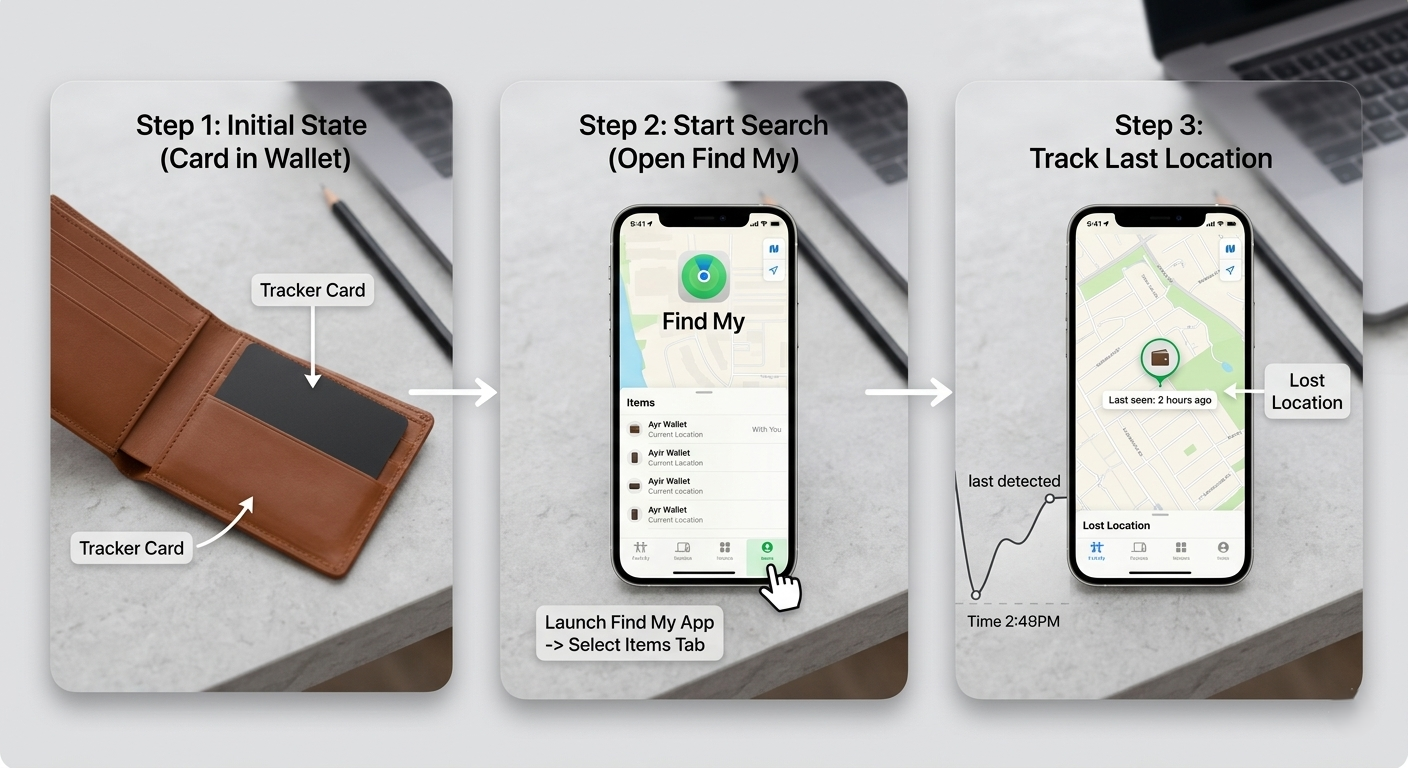
Losing a wallet is one of those experiences that triggers immediate, irrational panic. Your hands go through every pocket twice, you retrace your last five minutes, and your brain starts calculating the cost of replacing everything inside before you have even confirmed it is actually gone.
If you have a tracker card inside your wallet, that panic disappears fast. Here is exactly how to track a lost wallet using iPhone and Apple Find My, from the moment you realise it is missing to the moment you have it back in your hands.
Before Anything Else: Open the Find My App
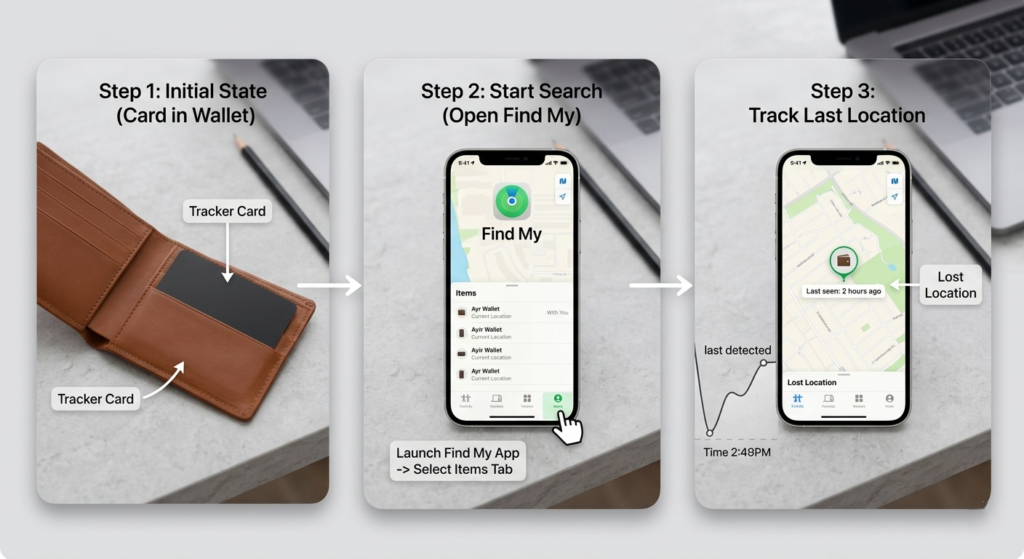
Do not start by retracing steps or calling the restaurant. Open Find My first.
The app comes pre-installed on every iPhone. Tap the Items tab at the bottom. Your wallet tracker will appear there with its last known location and a timestamp showing when the location was last updated.
If it says “With You” and shows your current location, the wallet is still nearby. If it shows a map pin somewhere else with a time like “2 hours ago,” that is where it was last detected by the Find My network.
Step 1: Play a Sound to Find Your Lost Wallet Nearby
If the last known location is close to you, tap your tracker card in the Items tab and tap Play Sound. The card will beep within a few seconds. Follow the sound.
This works when your iPhone has a direct Bluetooth connection to the card, which typically means within 30 to 50 metres. The beep is loud enough to hear through a bag, a jacket pocket, or a couch cushion.
If the sound button is greyed out, your wallet is out of Bluetooth range. Move to the next step.
Step 2: Check the Last Known Location on the Map
The Find My map shows where your wallet was last detected by any Apple device in the Find My network. This could be your own iPhone when you last had it nearby, or it could be an update from a random iPhone that passed close to your wallet after you lost it.
Tap the location pin to see the address or area. If it shows a restaurant you visited, a taxi route, or an office building, you now have a starting point. Head to that location, and when you get close enough, try playing the sound again.
Apple’s Find My network covers billions of devices worldwide. In any city, location updates typically come within minutes as iPhones pass near your lost card.
Step 3: Enable Lost Mode
If your wallet has moved somewhere you cannot immediately reach, or if you think it might have been taken, enable Lost Mode right away.
Tap your tracker card in Find My, scroll down, tap Lost Mode, and tap Enable. Enter a phone number or message. Anyone who finds your wallet and holds an iPhone near it will see that contact information appear on their screen automatically.
Once Lost Mode is on, you will receive a notification every time the card’s location updates through the Find My network. You do not need to keep checking the app manually.
Step 4: Use iCloud if You Do Not Have Your iPhone
If your phone is also missing or has no battery, you can track a lost wallet using iPhone through a family member’s device or any web browser.
Go to icloud.com/find and sign in with your Apple ID. The same map and tracker information appears there. You can play a sound, check location, and enable Lost Mode from any device connected to the internet.
What to Do if Find My Shows “No Location Found”
This message means no Apple device has come close enough to your tracker card to relay its location recently. It does not mean the card is broken or that tracking has failed permanently.
In less populated areas, location updates can take longer. In a very remote location, the card might not update until someone with an iPhone passes nearby.
Keep Lost Mode enabled and check back periodically. Find My stores the last known location for up to seven days. If a new location update comes in, you will get a notification.
What to Do After You Recover Your Wallet
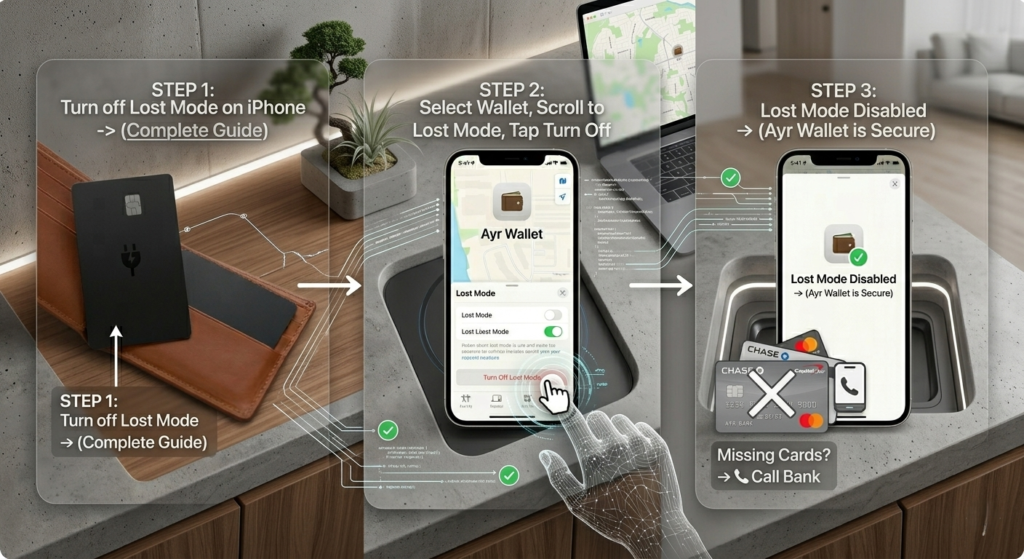
Once your wallet is back, turn off Lost Mode. Open Find My, tap the tracker card, scroll to Lost Mode, and tap Turn Off Lost Mode.
If the wallet was stolen and recovered with cards missing, contact your bank immediately to cancel any compromised cards. The tracker card itself will continue working normally once Lost Mode is disabled.
The Best Prevention: Having a Tracker Card Already Set Up
Everything above works only if a tracker card is already inside your wallet and paired to your iPhone before you lose it. You cannot add one after the fact.
If you do not have a wallet tracker yet, the DK01 wallet tracker card takes under two minutes to set up inside the Find My app and costs less than most alternatives. Our complete setup guide walks through the pairing process step by step.
Frequently Asked Questions
Can I track a lost wallet without a tracker card inside? No. Apple Find My requires a tracker card or AirTag to be inside the wallet before it goes missing. Without one, Find My has nothing to locate.
How accurate is the location shown in Find My? Find My shows an approximate location based on where nearby Apple devices detected the tracker’s Bluetooth signal. In dense areas it can be accurate to within a few metres. In quiet areas the circle of uncertainty may be wider.
What if my wallet was stolen? Enable Lost Mode immediately so your contact information appears to anyone who finds it. Do not attempt to retrieve a stolen wallet from a person yourself. Share the location with local authorities if needed and let them handle it.
How long does Find My keep location history? Find My displays the last known location for up to seven days. After that, if no new location update has come in, it shows “No location found.”
Do not have a wallet tracker yet? See our best wallet tracker cards 2026 guide for the top options, or go straight to the DK01 review for our top pick. Already have one but need help with setup? Our step by step setup guide covers everything.

AG Baloch is an SEO expert, content writer, and technology educator who specializes in creating accurate, user focused content that informs and inspires.