
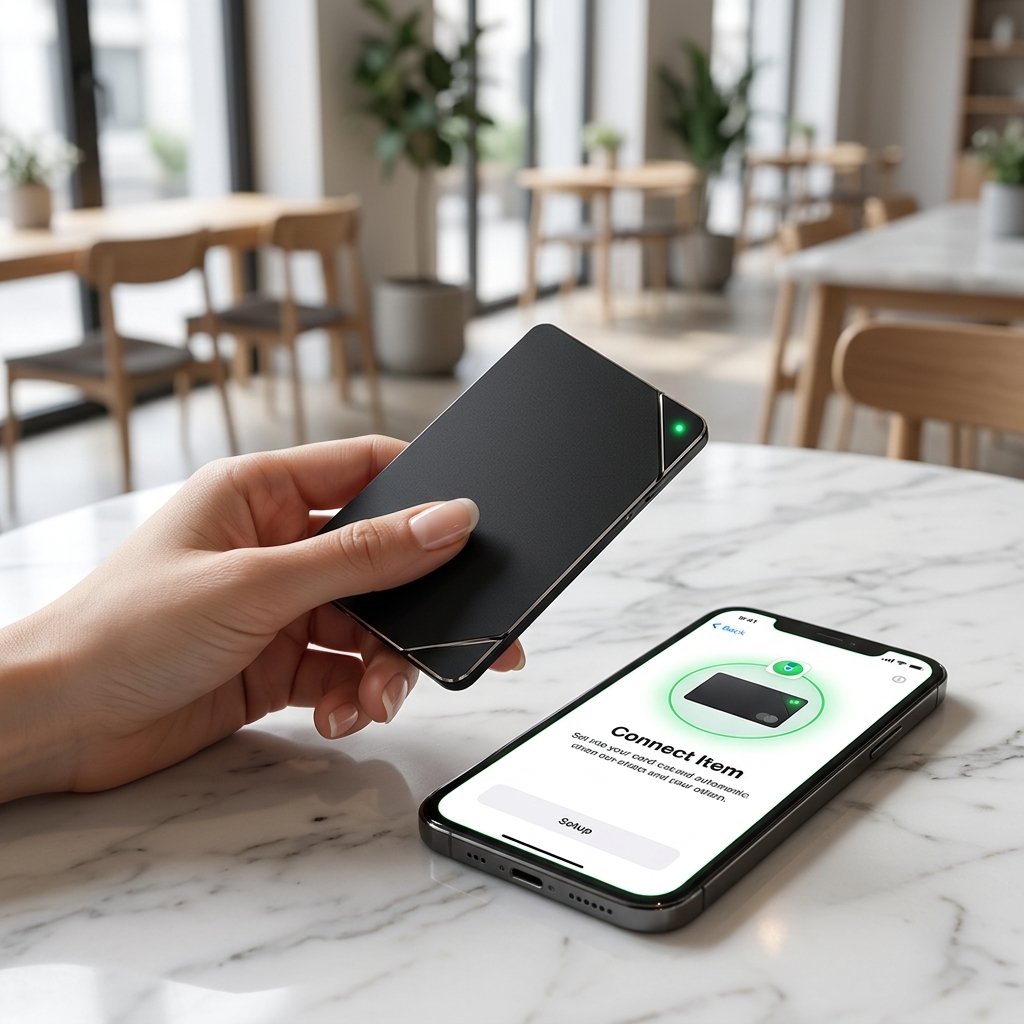
Setting up your Track Easy Pro Smart Card takes less than a minute. Because it integrates natively with Apple’s global Find My network, you don’t need to download third-party software or create extra accounts.
Here is a quick step-by-step guide to pairing your smart card with your iPhone, iPad, or iPod touch.
Pre-Setup Checklist
Before pairing, ensure your iOS device meets the following requirements:
- iOS Version: Updated to iOS 14.5 or later (iOS 16.7+ recommended).
- Connectivity: Bluetooth turned ON and connected to Wi-Fi/Cellular data.
- Location Services: Enabled under Settings > Privacy & Security > Location Services.
- Apple ID: Signed in with Two-Factor Authentication enabled.
Step-by-Step Pairing Guide
Step 1: Power On the Smart Card
Press and hold the power button on your Track Easy Pro card for 2 to 3 seconds. You will hear a short chime/melody indicating the device is active and in pairing mode.
Step 2: Open the Apple Find My App
Launch the native Find My app on your iPhone or iPad.
Step 3: Add a New Item
- Select the Items tab at the bottom of the screen.
- Tap the
+icon. - Choose Add Other Item (do not select “Add AirTag”).
Step 4: Connect the Card
Hold the card close to your phone. When “Track Easy Pro” or “Smart Tag” appears on screen, tap Connect.
Step 5: Name & Link to Apple ID
- Enter a custom name (e.g., “My Wallet” or “Passport Tracker”).
- Choose a fun emoji to identify it on the map.
- Tap Agree to register the tracker to your Apple ID.
- Tap Finish.
Quick Troubleshooting Tips
- Card Not Detected? Turn Bluetooth off and back on. Ensure the card is fully charged or awake by pressing the button once.
- Paired with Another Device? A card can only link to one Apple ID at a time. Unpair it from the original device before connecting it to a new one.
- Factory Reset: Press the power button quickly 5 times and hold it on the 5th press until you hear a reset confirmation chime.